Back/Forward Cache Extension for Magento 2
Extendware Back/Forward Cache makes browsing faster by using the browser’s back-forward cache feature. It stores pages in the browser, helping users move swiftly between pages they’ve already seen.
Interested in Extension Installation Service?
Visit our installation service page https://www.extendware.com/magento-extension-installation-service.html for more information
Support
Got questions? Feel free to contact us! Support Form.
Installation Procedure
Type 1: Zip file
Download your extension package from the Download page after purchasing the extension.
Open the extension ZIP file you downloaded and extract it to a directory on your computer using a tool like WinRar, WinZIP or similar.
Upload the extracted files to the app/code/Extendware directory in your Magento installation, maintaining the folder structure. If updating, overwrite the existing files.
Connect via SSH and run the following commands (make sure to run them as the user who owns the Magento files!
php bin/magento module:enable --clear-static-content Extendware_Core

php bin/magento module:enable --clear-static-content Extendware_Bfcache

php bin/magento setup:upgrade

php bin/magento setup:di:compile

php bin/magento setup:static-content:deploy
Type 2: Via Composer (recommended)
You can freely install, update, and remove Magento 2 extensions using Composer.
Please request your private access first via Support Form.
Add the custom repository to the composer.json
composer config repositories.private-packagist composer https://extendware.repo.packagist.com/your-company-name/
Setup authentication
composer config --auth http-basic.extendware.repo.packagist.com token YOUR-PRIVATE-TOKEN
Install the module
composer require extendware/module-bfcache
run the following commands
php bin/magento module:enable --clear-static-content Extendware_Core

php bin/magento module:enable --clear-static-content Extendware_Bfcache

php bin/magento setup:upgrade

php bin/magento setup:di:compile

php bin/magento setup:static-content:deploy
User Guide
We highly recommend gathering all the below information, before starting the installation.
Prerequisites
Make sure the cron is configured and running. You can find the details from here: Configure and run cron
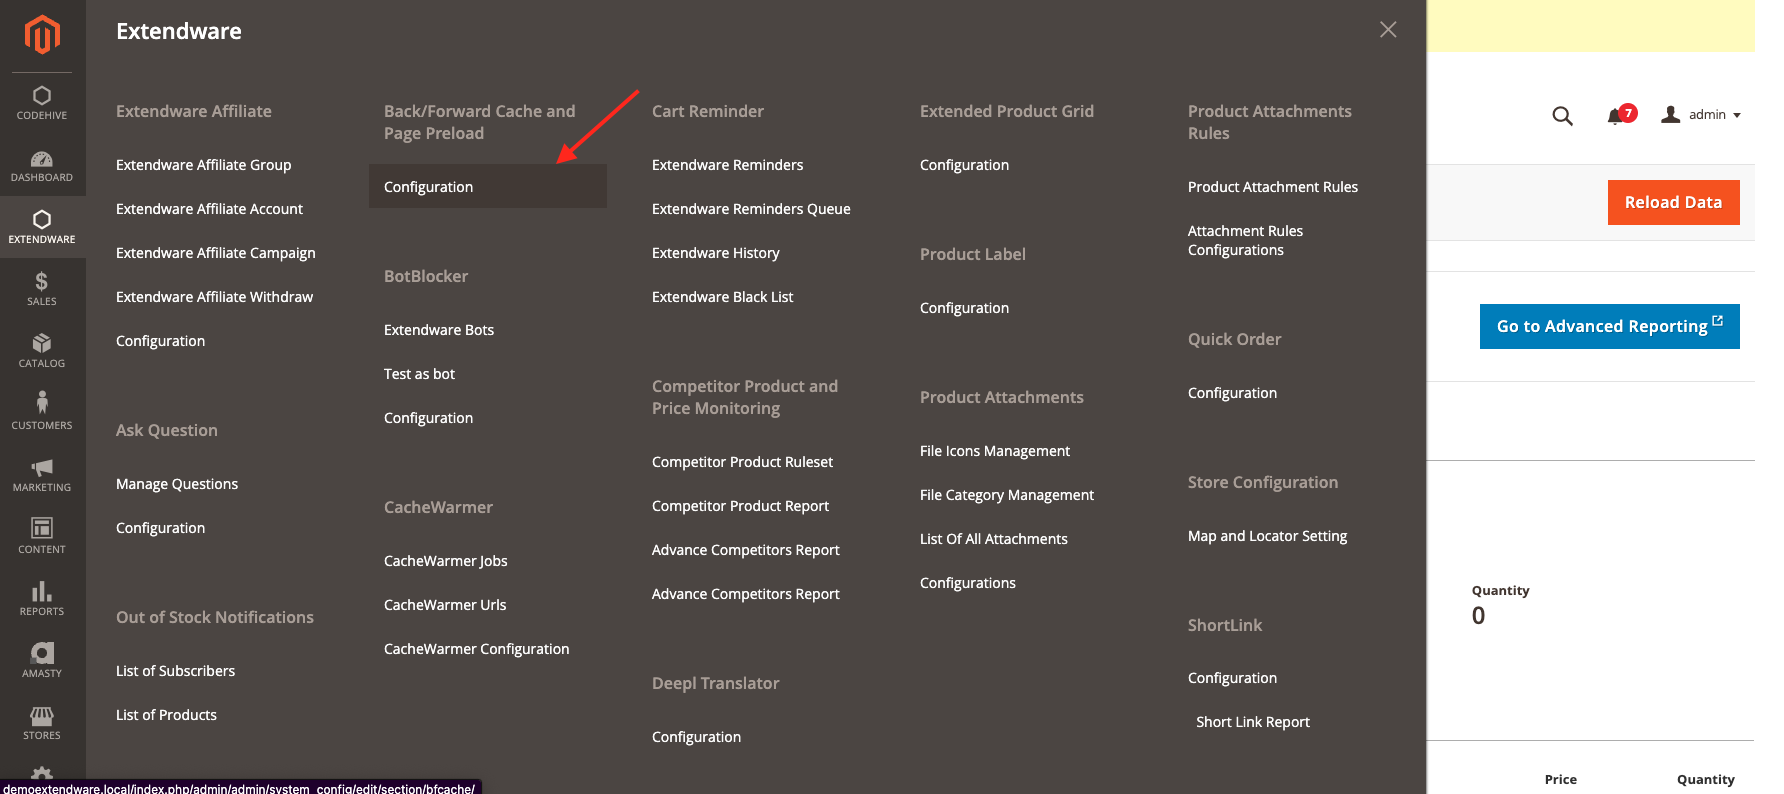
Configuration
To configure the extension you need to go to Dashboard → Stores → Configuration → Extendware Menu**.
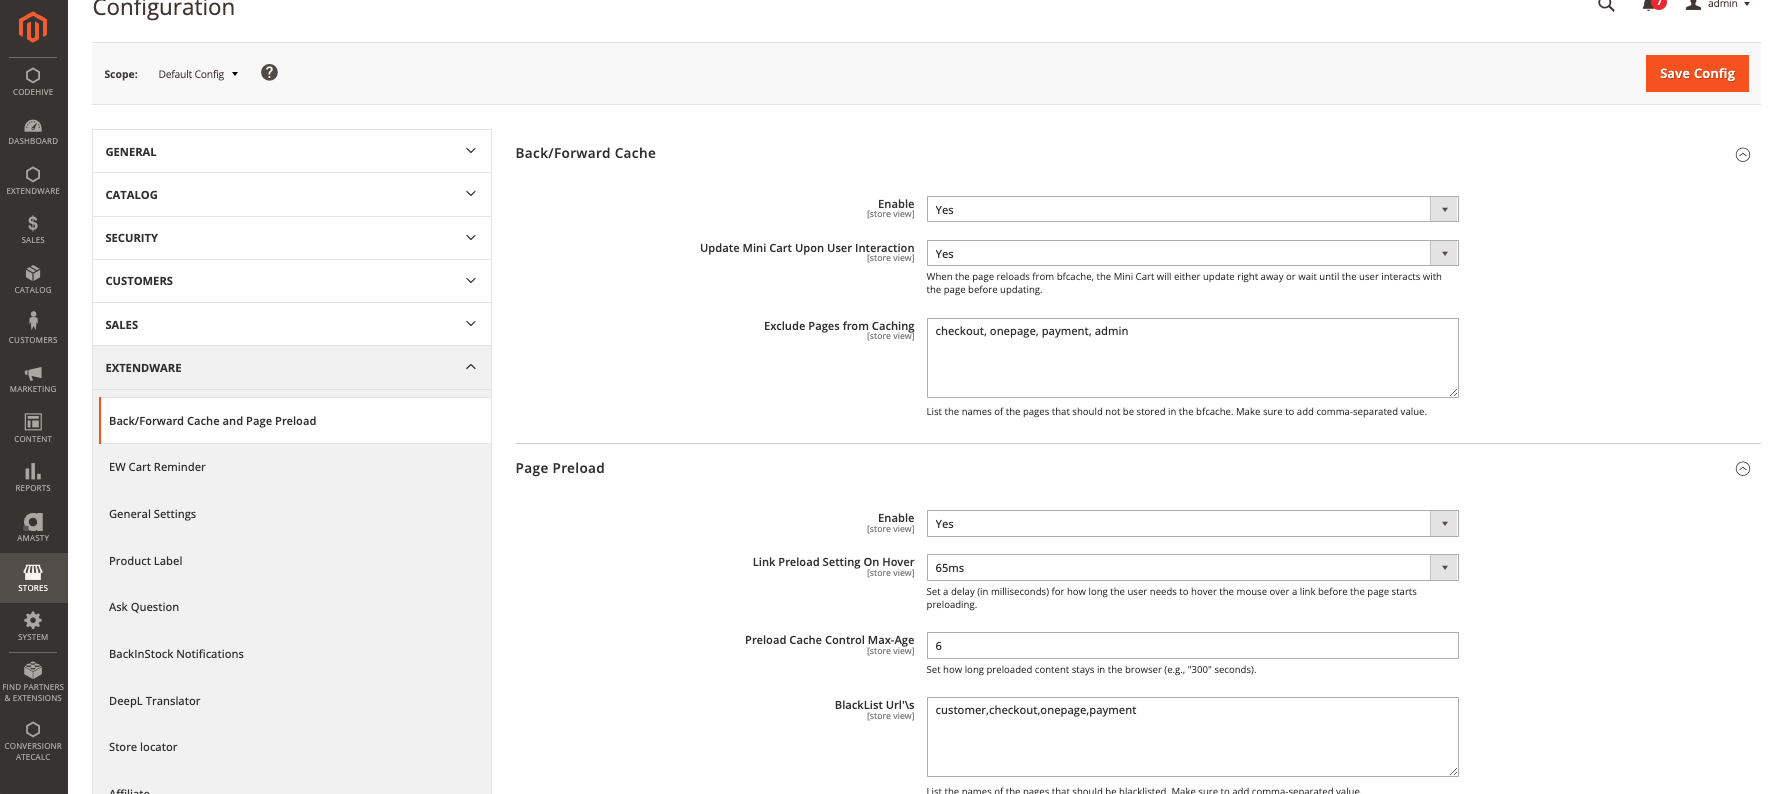
Configuration Overview for Back/Forward Cache
Module Enable - Select Yes to enable the module.
Update Mini Cart Upon User Interaction > Enable - When the page reloads from bfcache, the Mini Cart will either update immediately or wait until the user interacts with the page before updating.
Exclude Pages from Caching - List the names of pages/route that should not be stored in the bfcache. Use comma-separated values.
Configuration Overview for Page Preload
Module Enable - Select Yes to enable the module.
Link Preload Setting On Hover - Select a delay (in milliseconds) for how long the user needs to hover the mouse over a link before the page starts preloading. The default delay time is 65 you can add custom delay by choosing ‘Custom Delay’
Preload Cache Control Max-Age - Set how long preloaded content stays in the browser (e.g., “300” seconds).
BlackList Url’\s - List the names of the pages that should be blacklisted. Make sure to add comma-separated value.
Frontend View
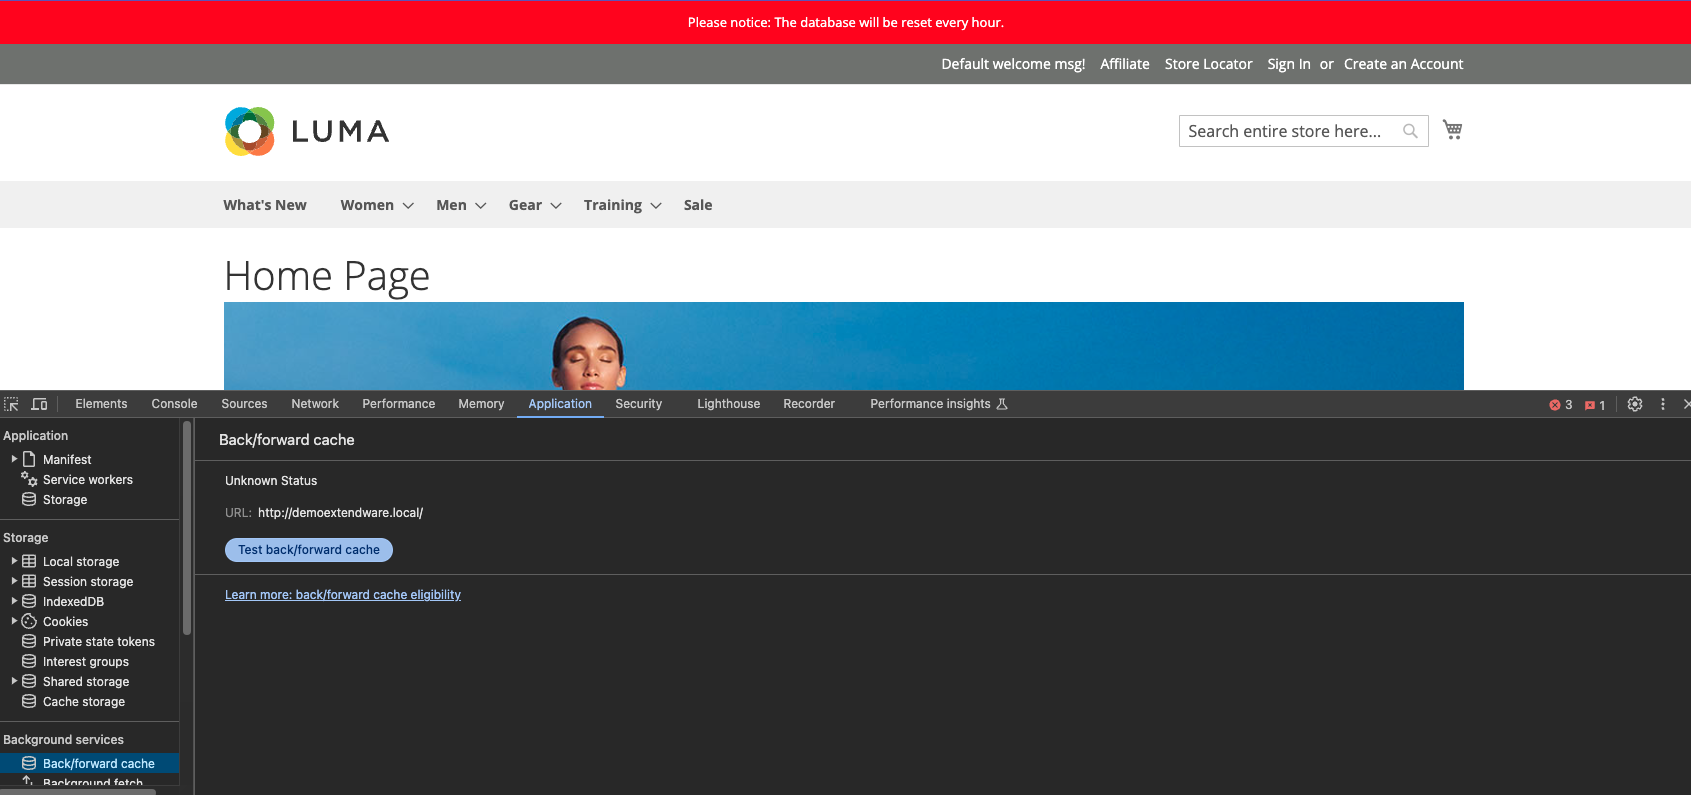
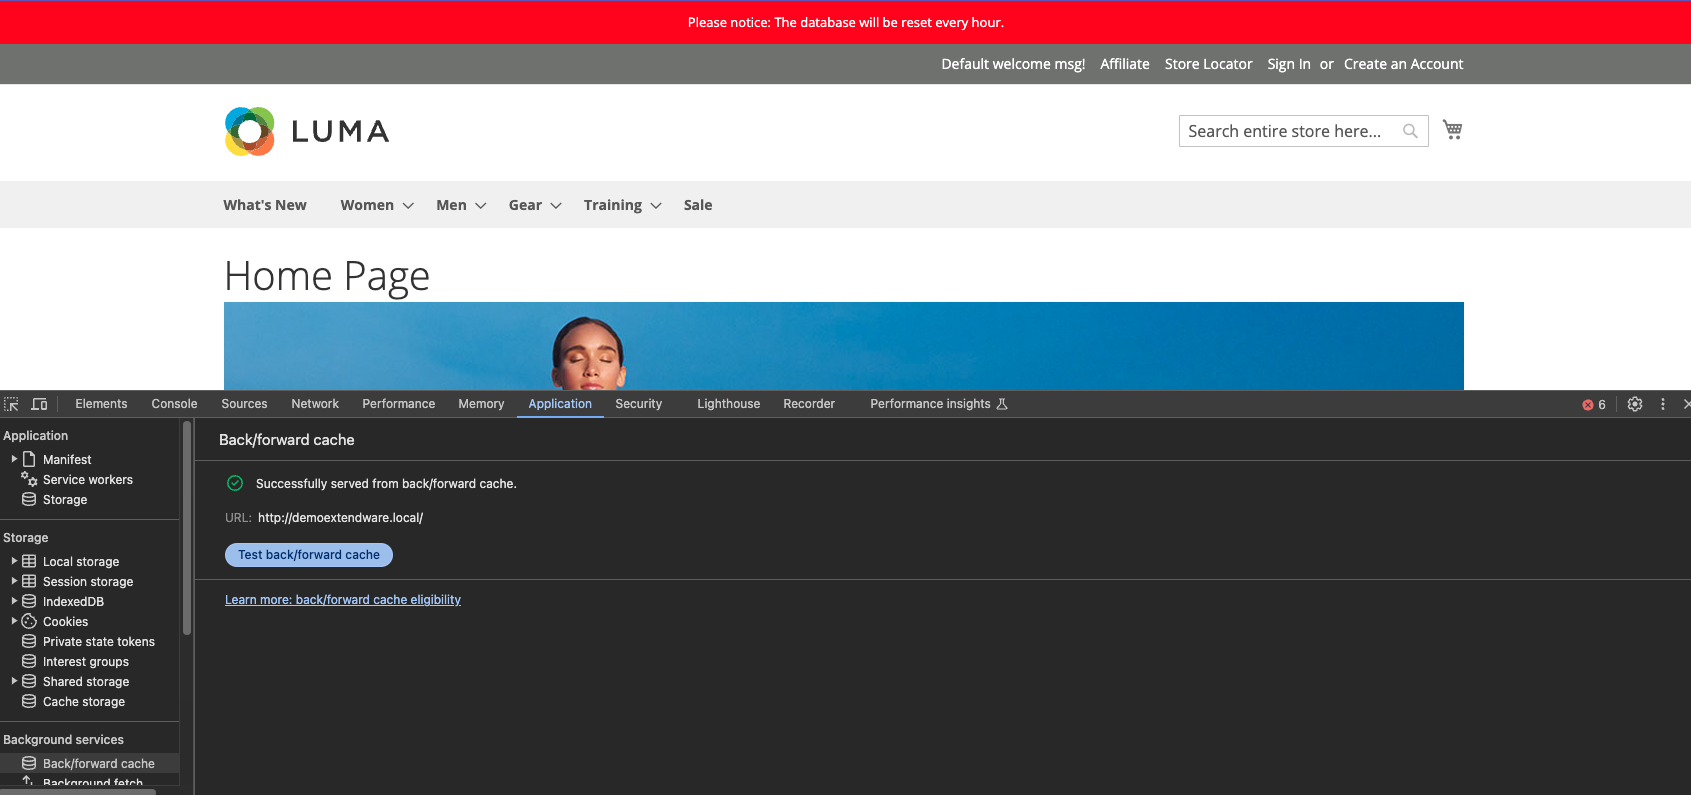
Once the extension is configured for testing Chrome DevTools can assist you in testing your pages to ensure they’re optimized for bfcache.
For testing:
Go to the page in Chrome.
Open DevTools and navigate to Application > Back-forward Cache.
Click the “Run Test” button. DevTools will attempt to navigate away from the page and then back to determine if the page can be restored from the bfcache.
Changelog
All notable changes to this project will be documented here.
[1.0.2]
Added
Add support to Enable/Disable Page Preload configuration.
[1.0.1]
Added
Support with Hyvä theme compatibility.
[1.0.0]
Added
Initial release